

Measuring Resistance with Microcontrollers
This app was made to show how a resistor can be measured.
An ohmmeter works similarly to a voltmeter. That is, it is based on the division of voltage.
We have our app on our youtube channel. If you wish, you can also watch the related video.
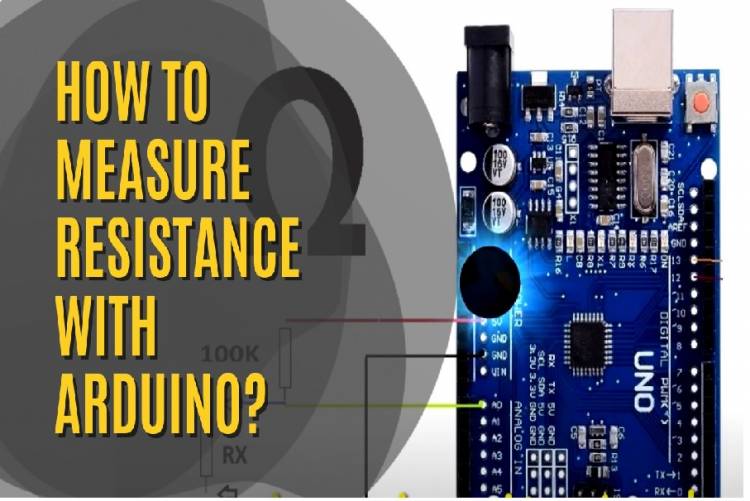
Thanks to the voltage divider circuit connected to the analog input of the microcontroller, we get an analog input voltage. Together with a 100K resistor (R1), the resistor (RX) to be measured divides the input voltage. Our reference resistor is the 100K resistor R1.
With the help of the code on the Arduino code screen, we find the value of RX as follows:
RX=(volt_in*R1)/(5-volt_in);The “volt_in” here is the voltage taken from the microcontroller terminal A0. Since the R1 resistance is 100K, we add it to the formula as 100000. We find the RX value in ohms. This value appears on the Arduino IDE code screen, on the "serial port" screen. If desired, this value can be transferred to an LCD display or 7 segment LED display connected to the microcontroller. An independent ohmmeter can be made.
Below are the microcontroller codes required for measurement: