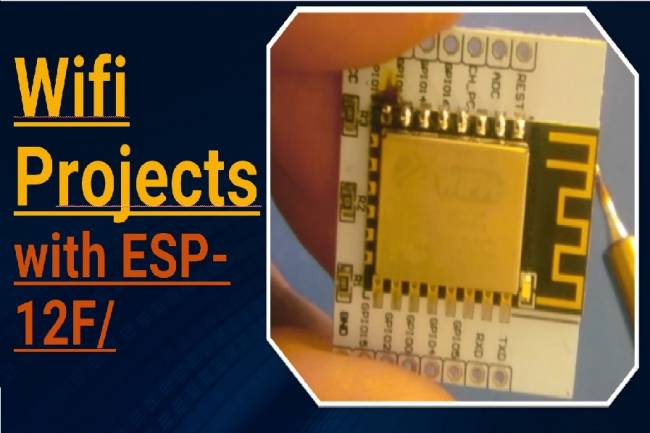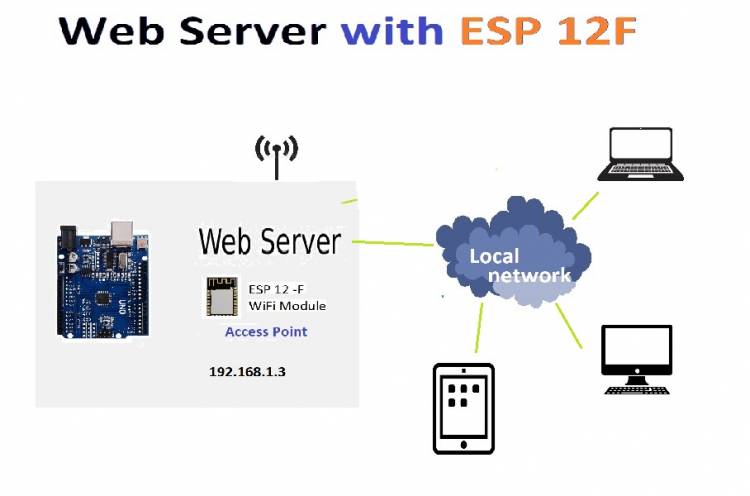
Using as Web Server with ESP 12F WiFi Module
Iot Basics
Today, IoT (Internet of Things) technologies are developing rapidly and offer new opportunities to make our homes and workplaces smart. Among these technologies are web servers created with the ESP 12F WiFi module. In this article, we will provide a step-by-step guide on how to create a web server using the ESP 12F WiFi module.
Entrance
ESP 12F WiFi module has become very popular in IoT projects thanks to its small size and wireless communication capabilities. In this project, we will create a simple web server using the ESP 12F module. Thanks to the web server, we will be able to connect to our device and control it remotely. This type of control can be very useful, especially in home automation projects.
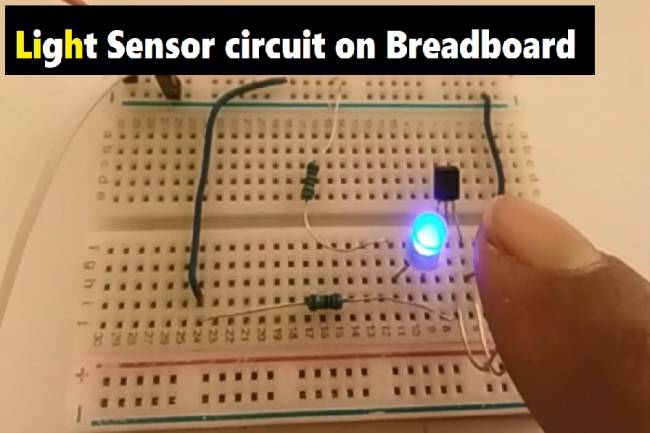
Necessary materials
ESP 12F WiFi Module
Arduino or an Arduino compatible board
USB-TTL converter (for programming)
LED
Breadboard and jumper cables
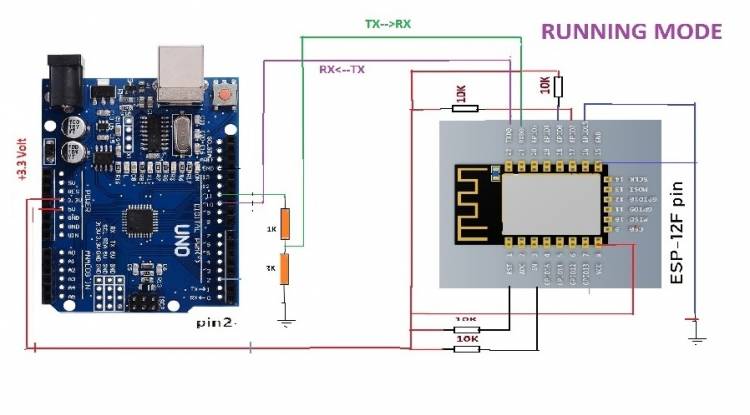
Circuit diagram
You can use the following components to build the circuit:
ESP 12F TX pin (Module RX) -> Arduino Pin 10
ESP 12F RX pin (Module TX) -> Arduino Pin 11
ESP 12F VCC pin -> 3.3V
ESP 12F GND pin -> GND
LED -> Arduino Pin 7
Code Description
We will use the Arduino IDE and the necessary libraries to use the ESP 12F module as a web server. In the first step, we will establish serial communication with the ESP 12F using the SoftwareSerial library. Next, we will use the LED to be able to control a lamp.
In the setup function, we set the serial communication speeds and set the ESP 12F module as an access point. At the same time, we send the necessary commands to the web server.
In the loop function we are checking the data from the ESP 12F. If the incoming data contains "CONNECT", we send the web page. Also, we turn the lamp on and off according to incoming HTTP requests.
In this article, we learned how to create a simple web server using the ESP 12F WiFi module. Thanks to the web server, we can remotely control our device and use it in home automation projects. I hope this guide will help you build your own IoT projects using the ESP 12F module.
Codes:
#include <Arduino.h>

#include <SoftwareSerial.h>
SoftwareSerial espSerial(10, 11); // RX, TX pins for ESP8266
bool lampState = false; // Initial lamp state is off
void setup() {
  pinMode(7, OUTPUT);  // Set pin 13 as an output for the LED

  digitalWrite(7, LOW); // Initially turn off the LED


  Serial.begin(9600);

  espSerial.begin(115200);
delay(1000);
  sendCommand("AT+CWMODE=2"); // Set ESP8266 as access point

  sendCommand("AT+CWSAP=\"poiny\",\"password\",1,3"); // Set SSID and password for the access point

  espSerial.print("AT+CIPSERVER=1,80");
  Serial.println("Access Point started.");

}
void loop() {

  if (espSerial.available()) {

    String response = espSerial.readStringUntil('\n');

    Serial.println(response);
    if (response.indexOf("CONNECT") != -1) {

      sendWebPage();

    }
    if (response.indexOf("GET /lamp/on") != -1) {

      lampState = true;

      digitalWrite(7, HIGH); // Turn on the LED


    } else if (response.indexOf("GET /lamp/off") != -1) {

      lampState = false;

      digitalWrite(7, LOW); // Turn off the LED

    }

  }
  // Perform actions based on lampState, for example, turning on/off the lamp

}
void sendCommand(String cmd) {

  espSerial.println(cmd);

  delay(1000);

  while (espSerial.available()) {

    Serial.write(espSerial.read());

  }

}
void sendWebPage() {

  String content = "<html><body>";

  content += "<h1>Web Server Test Page</h1>";

  content += "<button><a href='/lamp/on'>Lamp 1 ON</a></button>";

  content += "<button><a href='/lamp/off'>Lamp 1 OFF</a></button>";

  content += "</body></html>