ADS1115 Connection and Data Reading with Arduino Nano
We introduced the ADS1115 chip in our previous article. Click for the related article.
Texas Instruments ADS1115: Precision Analog-to-Digital Converter
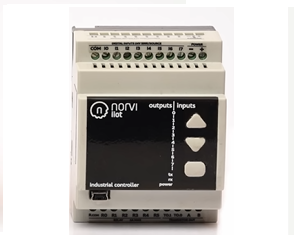
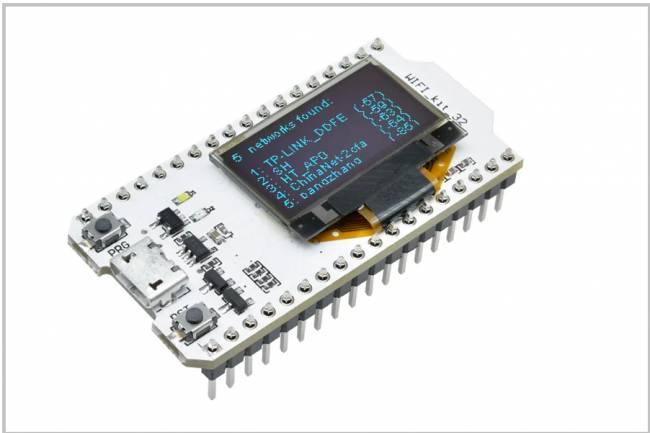
In this article, we will see how to connect an ADS1115 module to the MCU. The MCU we chose as an example is the Arduino Nano board, which is both economical and easy to program.
The most important reason why we chose the Arduino Nano board is its small size. When designing data analysis systems, it is important that the system we design takes up as little space as possible.
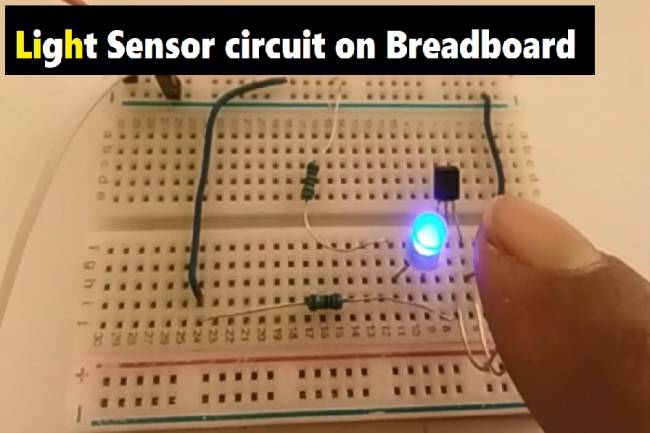
Many different sensors can be used in this project.
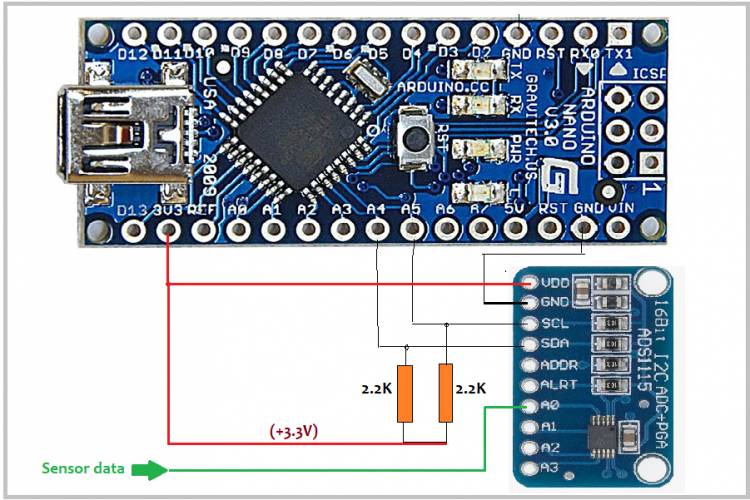
I2C Communication with Arduino Nano and ADS1115 module
Arduino Nano's SDA and SCL pins have specific pin numbers. Usually in Arduino Nano, SDA is assigned to pin A4 and SCL is assigned to pin A5. These pins are usually as follows:
A4: SDA (Analog Pin 4)
A5: SCL (Analog Pin 5)
These pins are used in the I2C communication of the Arduino Nano. So, when connecting a device like ADS1115 to Arduino Nano, you need to connect the SDA and SCL pins of ADS1115 to the SDA and SCL pins of Arduino Nano.
These connections can be made as follows:
ADS1115 SDA pin is connected to A4 pin of Arduino Nano.
ADS1115 SCL pin is connected to A5 pin of Arduino Nano.
In this way, you can connect ADS1115 to Arduino Nano and communicate via I2C.
Microcontrollers like Arduino Nano generally do not include integrated pull-up resistors, so external pull-up resistors are needed. In a typical I2C connection, it is recommended to use pull-up resistors between 2.2kΩ and 10kΩ on the SDA and SCL lines.
To connect pull-up resistors, you need to connect one resistor each to connect the SDA and SCL lines with Vcc (usually 3.3V). In this way, the necessary pull-up resistors for I2C communication are provided.
MCU codes for data reading:
#include <Wire.h>

#include <Adafruit_ADS1015.h>
Adafruit_ADS1115 ads; //Create ADS1115 object
void setup(void)

{

   Serial.begin(9600);

   Serial.println("Sample reading with ADS1115:");


   // initialize ADS1115

   if (!ads.begin())

   {

     Serial.println("Failed to initialize ADS1115!");

     while(1);

   }

}
void loop(void)

{

   int16_t adc0;
   adc0 = ads.readADC_SingleEnded(0); // read data from channel 0

   Serial.print("ADC 0 Value: "); Serial.println(adc0);
   delay(1000);

}
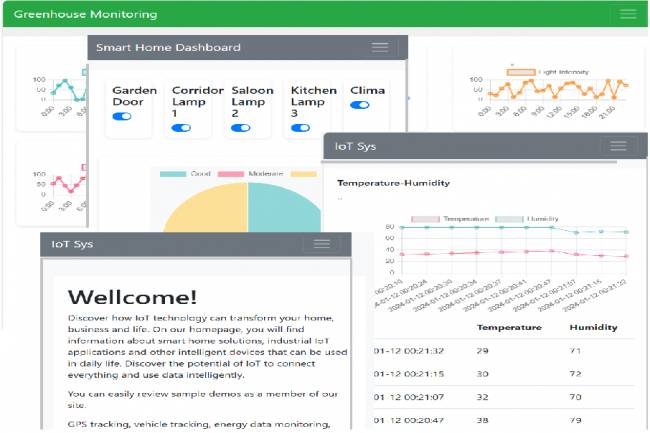
This code reads the analog data from the ADS1115 integrated circuit from the A0 pin and prints it to the serial monitor. According to the links provided, you can upload it to Arduino Nano and observe the data from the serial monitor.
Note: Some properties of int16_t data type:
Minimum value: -32.768
Maximum value: 32,767
Related Article: Application Development Example with Flutter and Arduino