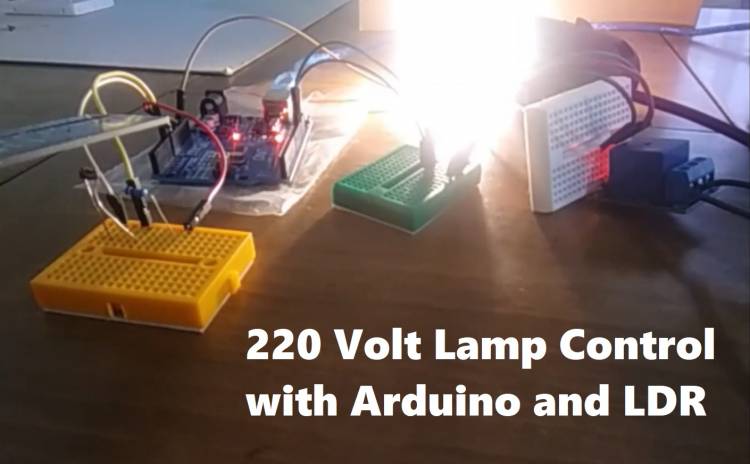
220 Volt Lamp Control with Arduino
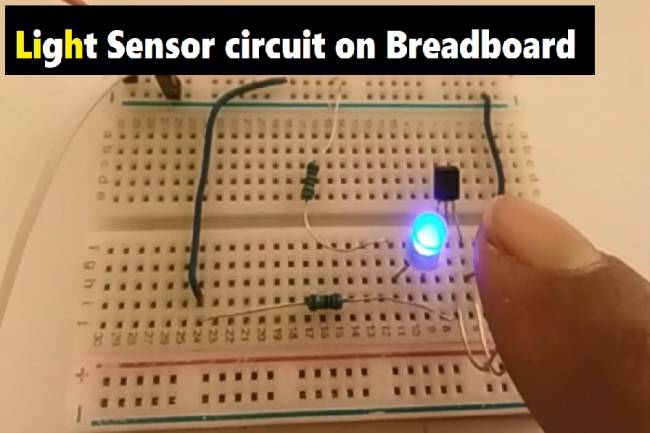
In this application we will learn how to control a 220 Volt lamp with LDR. Our goal is to make a lamp system that turns on automatically at night.
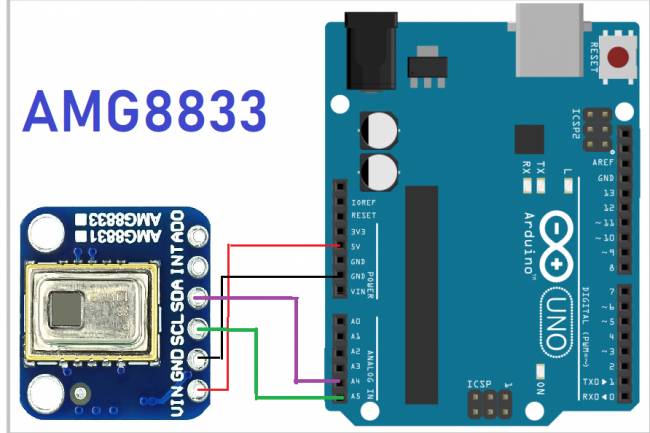
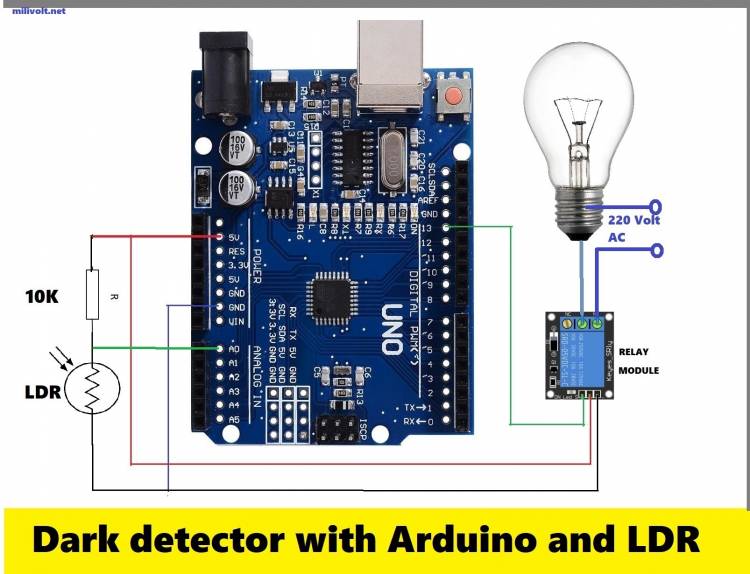
We connected the cable coming from LDR to A0 terminal, which is one of the analog inputs of Arduino UNO. As the light intensity decreases, the resistance of the LDR increases. So the voltage across the LDR also seeks out. We detect this increase with the command line "If(pot_in>400)" from Arduino codes. If this condition is met, we send "1-HIGH" to pin 13, one of the Arduino UNO's digital output pins. So we activate the relay.
The number of LDRs in this application can be increased. At the same time, the number of relays can be increased. For example, with separate LDRs and separate relays for all rooms in a house, automatic lighting of more than one room is provided.
Youtube Channel:
The Arduino codes of the application are below:
void setup() {
// Red leds -------------------

  pinMode(13, OUTPUT); // FOR RELAY<<-----------------


}
void loop() {


int pot_in = analogRead(A0);// LDR INPUT
// pot_in 0------>1000
if(pot_in>400){

    digitalWrite(13,HIGH);

    delay(5000);

digitalWrite(13,LOW);

}
}