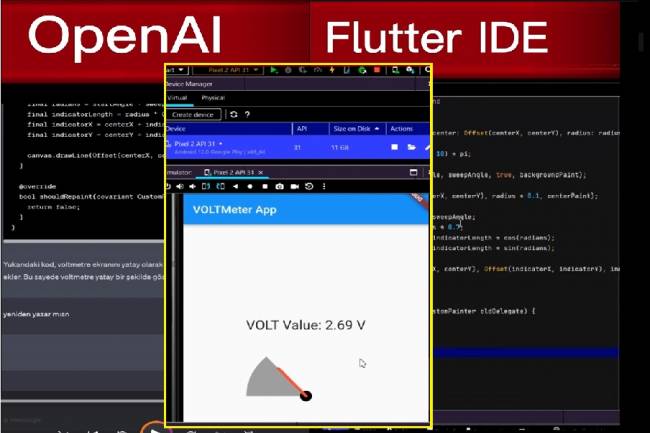
Controlling Wifi Devices with Flutter-Dart
In this article, we will examine how to send control commands to a microcontroller connected to a Wifi module with the Flutter-Dart programming language. But first, let's give some examples of Wifi-based control applications:
Here are some sample applications from Wi-Fi controlled home devices:
Smart thermostats: These devices allow you to control the home's heating and cooling systems via Wi-Fi. In this way, you can remotely control the temperature of your home and save energy.
Smart lighting: These devices allow you to change your lighting patterns by controlling your home over Wi-Fi. This provides functions such as turning your lights on, off or adjusting their brightness.
Smart security cameras: These devices allow you to monitor your home remotely via Wi-Fi. This way you can use a smartphone or tablet to monitor your home from anywhere.
Smart door lock: These devices allow you to lock and unlock your home door via Wi-Fi. In this way, you can access your door remotely and let your guests in.
Smart sockets: These devices allow you to control your sockets via Wi-Fi. In this way, you can use a smartphone or tablet from anywhere to turn your sockets on or off.
These examples can be multiplied further.
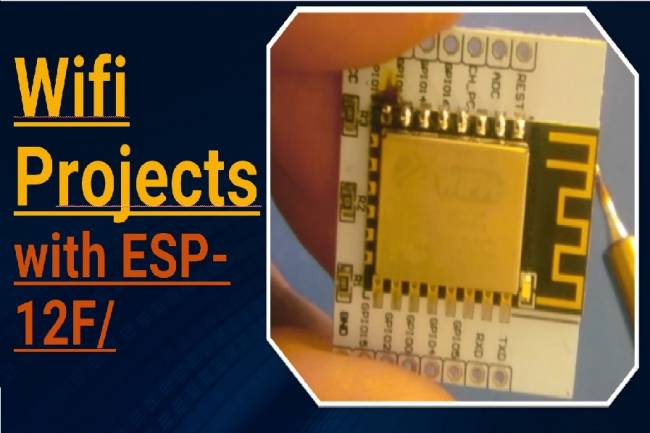
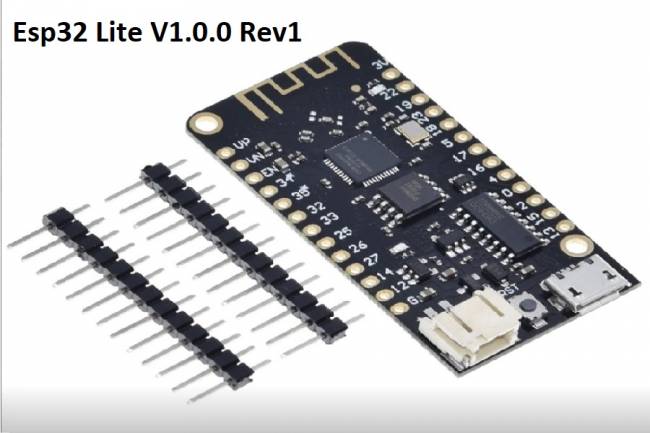
Let's examine the codes on the Flutter-Dart codes side. Let's examine the codes with a simple code without going into visual widgets. You can send HTTP GET requests to the ESP 12f Wifi module using an example Flutter code as below. This code sample uses the IP address and port 80 of the ESP 12f module as the web server and sends simple commands such as on and off. Of course, commands like these "open" and "close" can be duplicated.
import 'package:http/http.dart' as http;
void main() {
turnOn(); // send data to ESP 12f
turnOff(); // send data to ESP 12f
}
void turnOn() async {
var response = await http.get('http://ESP_12f_IP_adrs:80/on');
if (response.statusCode == 200) {
print('ESP 12f open');
} else {
print('Hata: ${response.statusCode}');
}
}
void turnOff() async {
var response = await http.get('http://ESP_12f_IP_adrs:80/off');
if (response.statusCode == 200) {
print('ESP 12f closed');
} else {
print('Hata: ${response.statusCode}');
}
}
#include <ESP8266WiFi.h>
#include <WiFiClient.h>
const char* ssid = "Wifi_SSID"; // WiFi net SSID
const char* password = "Wifi_şifresi"; // WiFi password
WiFiServer server(80); // Web server port number
void setup() {
Serial.begin(9600); // Serial port için baud rate
delay(10);
// WiFi connect
WiFi.begin(ssid, password);
while (WiFi.status() != WL_CONNECTED) {
delay(1000);
Serial.println("WiFi connecting...");
}
Serial.println("WiFi connected.");
// Web server open port
server.begin();
Serial.println("Web server started.");
}
void loop() {
// new request controlling
WiFiClient client = server.available();
if (!client) {
return;
}
// on request, arrived data
Serial.println("new request!.");
while (client.connected()) {
if (client.available()) {
String request = client.readStringUntil('\r');
Serial.println(request);
}
}
// close
client.stop();
Serial.println("closed.");
}
Creates a web server using the ESP 12f WiFi module. The Arduino board works as a web server and receives incoming requests. Requests are written to the serial port and then the connection is closed. Using this code, you can follow the requests from the ESP 12f module over the serial port.